The Art of Micrography…Word!

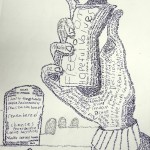
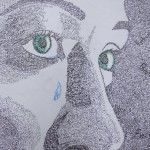
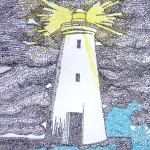
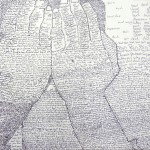
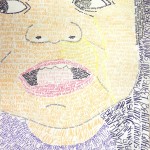
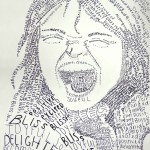
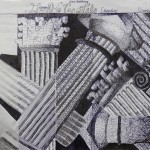
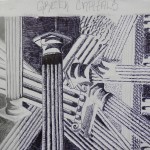
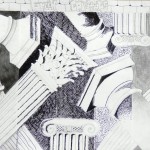
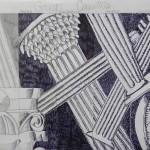
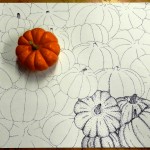
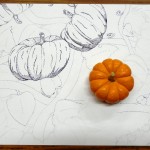
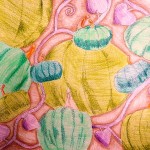
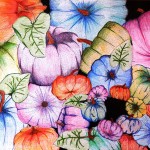
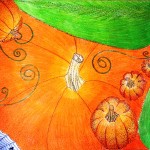
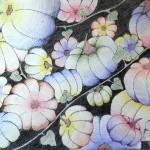
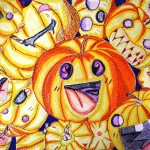
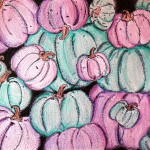
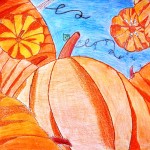
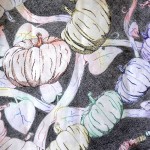
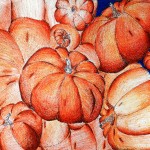
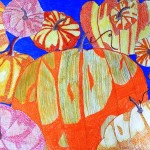
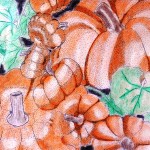
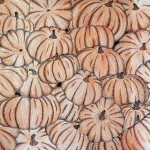
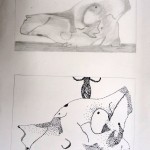
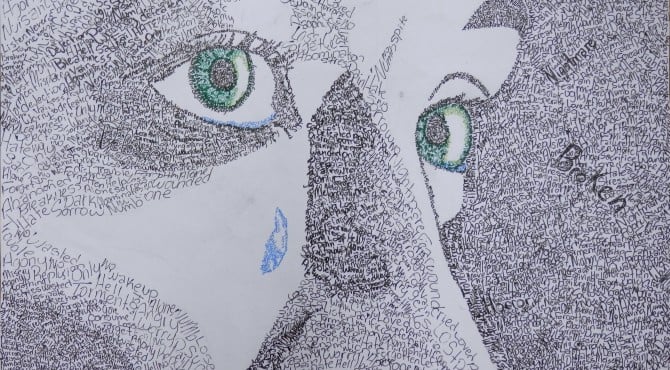
Micrography is a lovely art form that dates back thousands of years in Hebrew culture. It can also be seen in Arabic culture. This form of art is much like stippling in its use of letters and words to create value and texture; however the use of text allows for a rich, unique interplay between text and the image. Featured in this post are a few of this year’s pieces; examples of prior years’ work can be found in the links for Art Galleries One and Two at the top of the page!

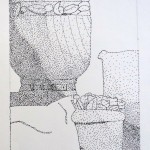
The inspiration for the lesson came from The Incredible Art Department’s website, which I have enjoyed and used often. The PowerPoint with directions can be found on the art resources link at the top of this page. Enjoy!! 🙂


Classical Greek Architecture…shading techniques

My Art I students created these brilliant compositions after LOTS of hard work…I totally admire their dedication, patience, and skill. We reviewed the element of VALUE which involved creating value scales using different methods of shading.
After studying ancient Greek art and architecture, we focused on the three types of capitals for our artwork: Doric, Ionic, and Corinthian. 
Guidelines for student compositions:
  • 12″x15″ paper
  • Draw lightly!!
  • Must include at least two of each type of capital
  • Principles of art to consider-balance, variety, movement
  • Provide variety by-some smaller, some larger capitals; coming into composition from different directions; negative space use
  • Must use overlapping
  • Divide paper into 3″ columns with a 1″ strip at top (for title)
  • Use a different type of shading in each column while retaining the same value
  • Use the same light source throughout
Shading with a light source was NOT easy…students had lots of small details in their drawings, and had to really think about which plane the light would be hitting for each little thing.
So…great job!! 😀


Stippling Pumpkins…they’re a smash! ;D

Advanced Drawing students have created some really nice fallish compositions using mini pumpkins. After studying shading techniques, we focused on stippling for this project, emphasizing the importance of observation. These were rendered in Black ink and colored pencil, chalk pastel in a couple of cases.

We focused on visual rhythm or repetition, creating a strong line of movement; also we stressed variety, balance, and overlapping. Students were given creative license to color or embellish their pumpkins as they wished.

Here are some of the lovely results, and a big thanks! to Katie Struk for the great lesson idea. A Power Point on this lesson is on the Art Resources page.

And, as a point of interest, our mini pumpkins were doing rather poorly a week and a half or so into our assignment….I don’t think anyone had to actually touch  mold…just some semi-spongy unhappy squashes. 🙂

Shading…does it have any value?

Uncategorized

Well, of course! ;D Referring, of course, to value as that all important element of art 🙂 After explaining light sources and their effects on objects’ values all day I am half loopy.

Does anyone know of a particularly effective source for teaching shading with a light source? Let me know! We are being pretty complex-using five types of shading, and Greek capitals (results coming up in a couple of blogs).

Here, meanwhile, are a few well-rendered examples from my Drawing class we did to get warmed up.

Blending
Crosshatching
Stippling

Graphite and Grid Drawing…awesome!!

Art II Drawing students have been studying value and basic shading techniques. We did a collaborative whole-class artwork that really turned out beautifully–and was a good teaching tool to show how important the element of value is to successful artwork.

Each student was given a 1″x1″ square cut from a black and white copy of a photo. They were instructed to enlarge it onto a 6″x6″ square, paying careful attention to value and proportions. When everyone was finished, we glued the results together, and crossed our fingers! —one thing I found helped was laying out the pieces, letting everyone look at the “big picture,” and then letting them add or subtract value, etc. to enhance the drawing.

The fun part was that no one got to see the photo they were working from until we finished, so the result was a lovely surprise! Enjoy! 

Cemetery Angel


Still life with skull…

Uncategorized

In Drawing class we build up our skills; I like to start the year with all of my students coming in every period doing a really focused, sort of centering exercise so we’ve been doing a lot of blind contour line drawing. It’s pretty silly feeling at first but they have gotten really good. We’re about to move on from there. I found a few photos hanging around from last year from my drawing class of still lifes we had done after we got into value and started shading techniques. I believe these just show shading and stippling, but no crosshatching. This year I should have examples of all three. Getting excited about putting together some autumnal still lifes! I think. I’m also really thinking trees right now too. I want to get that in. Hmm. Branches in the still life? Well, here’s the photos, just a few…I remember being so excited because Mrs. Price, our other art teacher, let me use a skull she had in this still life (cow?), and bones make very nice shading and such. Hope you enjoy, and I’ll be posting more soon!